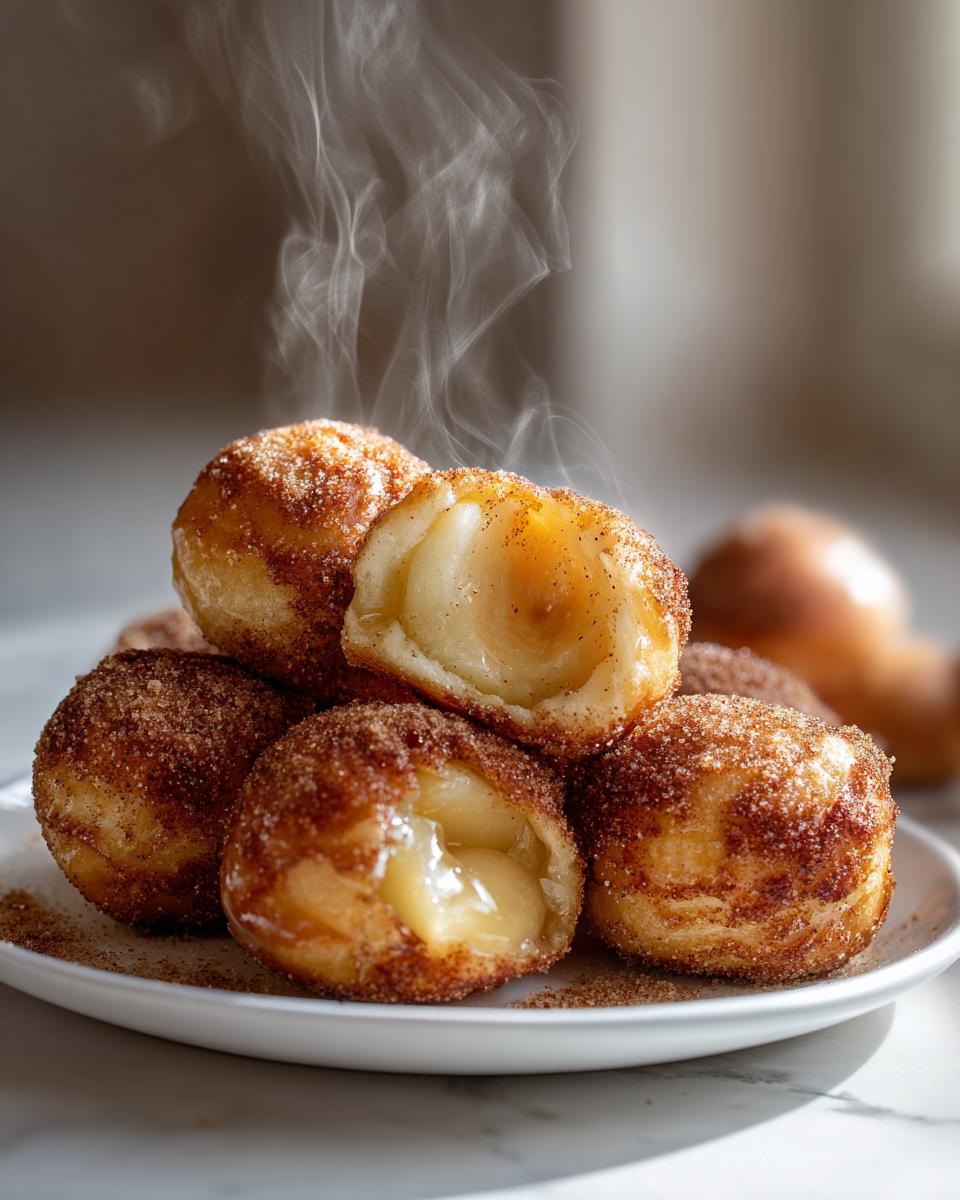
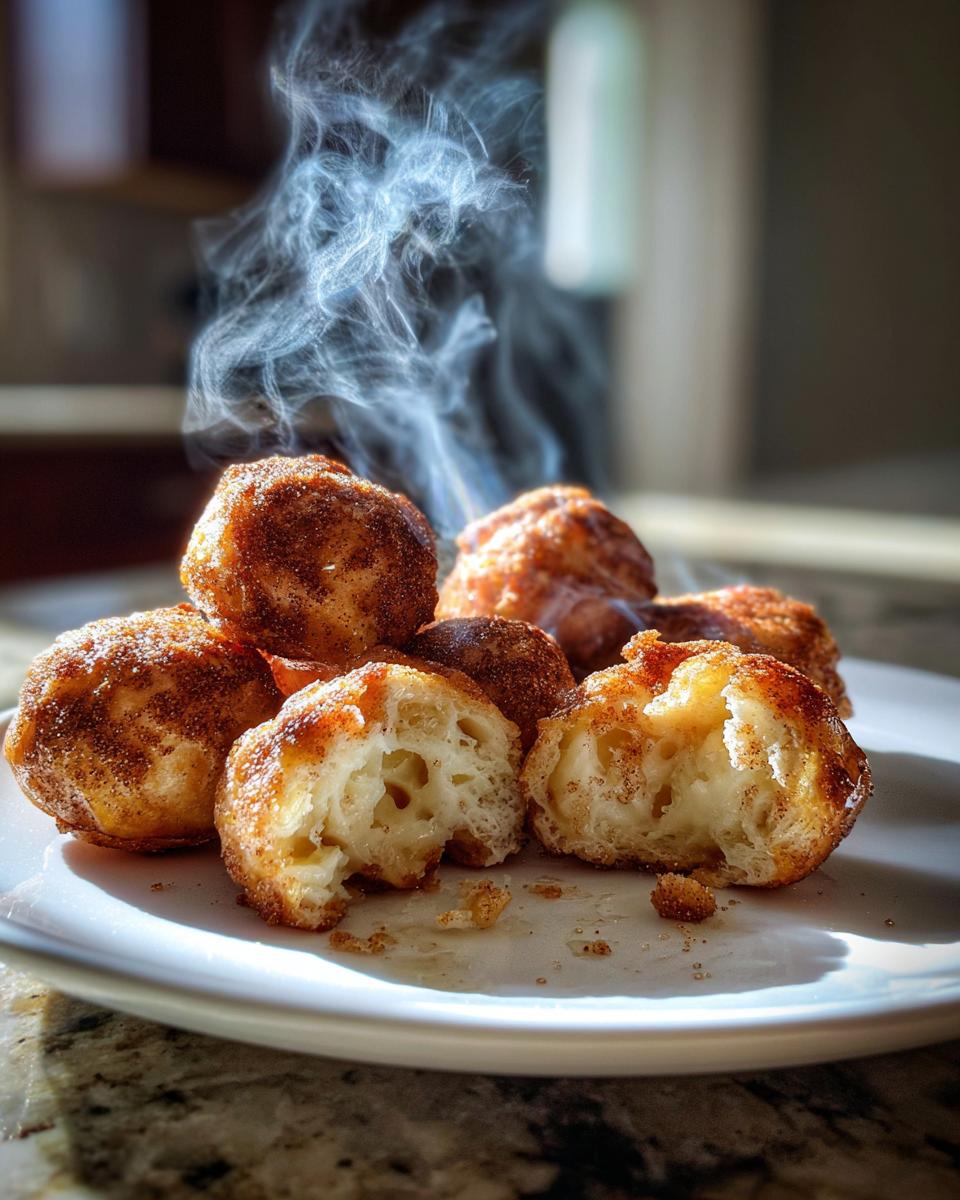
You know those moments when you need a dessert that’s equal parts impressive and effortless? That’s exactly why I fell head over heels for these Apple Pie Bombs the first time I made them. Picture this: all the cozy flavors of homemade apple pie, but in adorable, pop-in-your-mouth portions that disappear faster than you can say “seconds please!”
I’ll never forget the first time I brought these to my book club meeting – one minute there was a full plate, the next? Just a few crumbs and a chorus of “how did you make these?” The secret? They’re ridiculously simple with just five ingredients (hello, refrigerated biscuit dough shortcut!) but taste like you spent hours in the kitchen. Whether it’s game night, brunch, or just a Tuesday craving, these little bombs deliver big apple pie happiness every time.
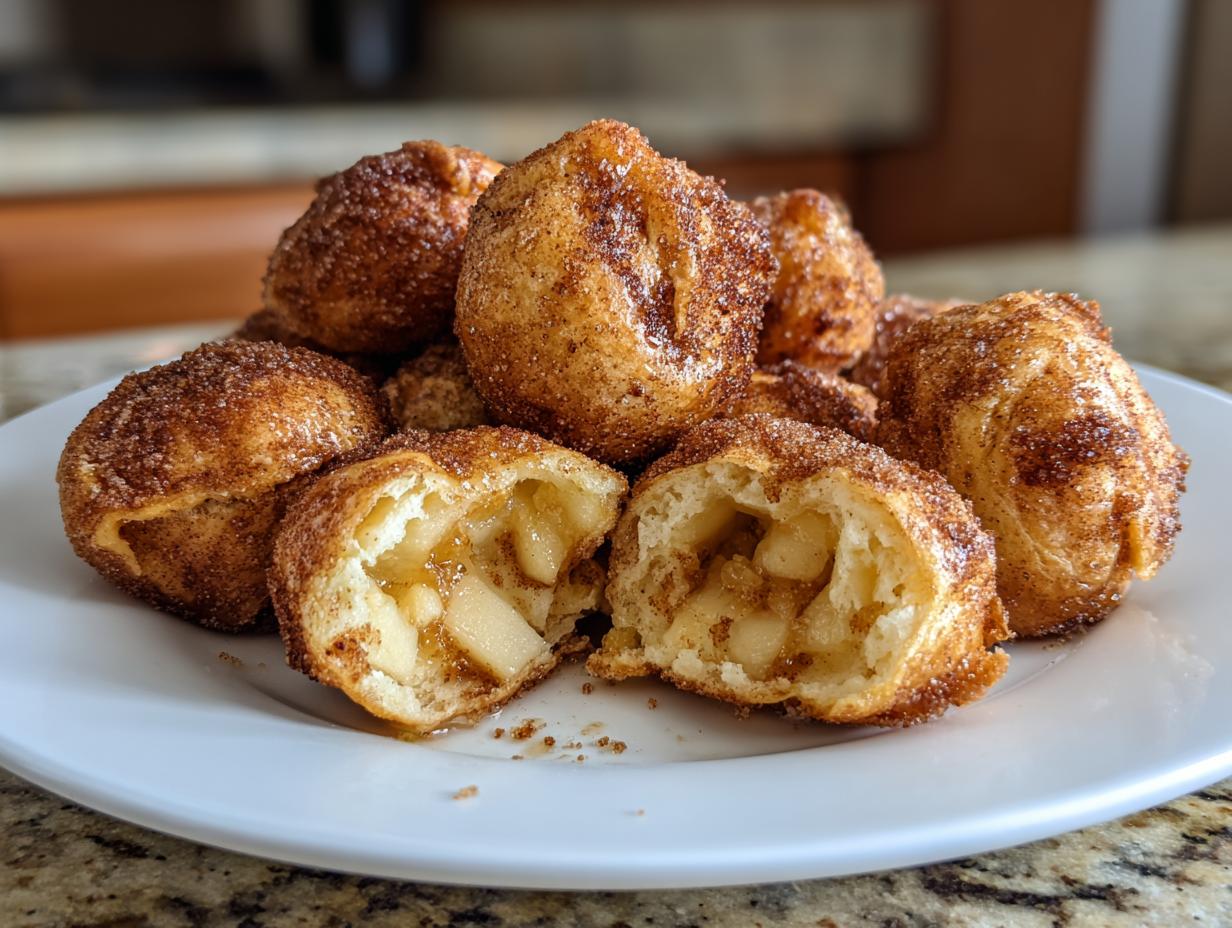
What I love most is how they capture that perfect balance – crispy cinnamon-sugar exterior giving way to soft, buttery dough and sweet-tart apple filling. It’s everything wonderful about fall baking, minus the hassle of rolling out pie crust. Trust me, once you try these, you’ll be as obsessed as my book club friends!
Why You’ll Love These Apple Pie Bombs
Let me tell you why these little guys are about to become your new go-to dessert. First off, they’re ridiculously easy – we’re talking 5 basic ingredients and 30 minutes from bowl to table. No fancy equipment, no pastry skills required. Just grab that can of biscuit dough from your fridge (we’ve all got one hiding in there, right?) and let’s get rolling!
Here’s what makes them so special:
- Perfect portion control – No slicing messy pie, just pop one (or three) in your mouth
- Kid-approved fun – My nieces love helping assemble these (and sneaking extra cinnamon sugar)
- Travel-friendly treats – Picnics, potlucks, or packed lunches – these hold up beautifully
- Customizable filling – Use canned filling for speed or homemade for special occasions
- That wow factor – They look way fancier than the effort required (our little secret!)
Seriously, these Apple Pie Bombs check all the boxes – quick, delicious, and guaranteed to make you the hero of any gathering. Your future self will thank you when that dessert emergency strikes!
Apple Pie Bombs Ingredients
Okay, let’s talk ingredients – and don’t worry, we’re keeping it super simple! Here’s what you’ll need to make these irresistible little treats:
- 1 can refrigerated biscuit dough (8 biscuits) – The flaky kind works best, not the buttermilk style
- 1 cup apple pie filling, finely chopped – Pro tip: Give those apple chunks a rough chop so they’re not too chunky
- 1/4 cup granulated sugar – Regular white sugar is perfect here
- 1 teaspoon ground cinnamon – Don’t skimp – this is where the magic happens!
1/4 cup melted butter – Unsalted is my go-to, but salted works in a pinch
Now, here’s the fun part – you can totally mix it up! If you’re feeling fancy, homemade apple pie filling takes these to another level (just make sure it’s not too watery). And while we’re being rebels, try swapping in pear filling or even cherry pie filling for a fun twist. The key is keeping your filling amount to about 1 tablespoon per bomb – any more and they might burst open while baking (believe me, I learned that the messy way!).
Oh! And if you want to get extra decadent, stir a handful of toasted pecans into your filling or add a pinch of nutmeg to the cinnamon sugar. But honestly? They’re absolutely perfect just as written – simple, comforting, and packed with apple pie goodness in every bite.
How to Make Apple Pie Bombs
Ready to transform those simple ingredients into golden, gooey pockets of joy? Let’s dive in! First things first – preheat your oven to 375°F (190°C) and line a baking sheet with parchment paper (trust me, this saves so much cleanup later). Now grab that can of biscuit dough – the satisfying “pop” when you open it never gets old!
Shaping and Filling the Bombs
- Separate the biscuits and place them on your work surface. Gently flatten each one into a 3-inch circle – don’t go too thin or they’ll tear when sealing.
- Spoon about 1 tablespoon of apple pie filling into the center of each circle. Pro tip: Keep the filling about 1/2 inch from the edges so you’ve got room to seal.
- Here’s the magic part – gather the edges together like you’re making a little purse. Pinch firmly to seal, then roll gently between your palms to form a smooth ball. If the dough sticks to your hands, just dust them lightly with flour.
Coating and Baking
- Mix your sugar and cinnamon in a small bowl – I like to give it a good stir with a fork to banish any clumps.
- Dip each apple bomb in the melted butter, rolling to coat completely. Let the excess drip off for a second before…
- The best part! Roll them in the cinnamon sugar until they’re coated like little snowballs. Place them on your prepared baking sheet about 2 inches apart.
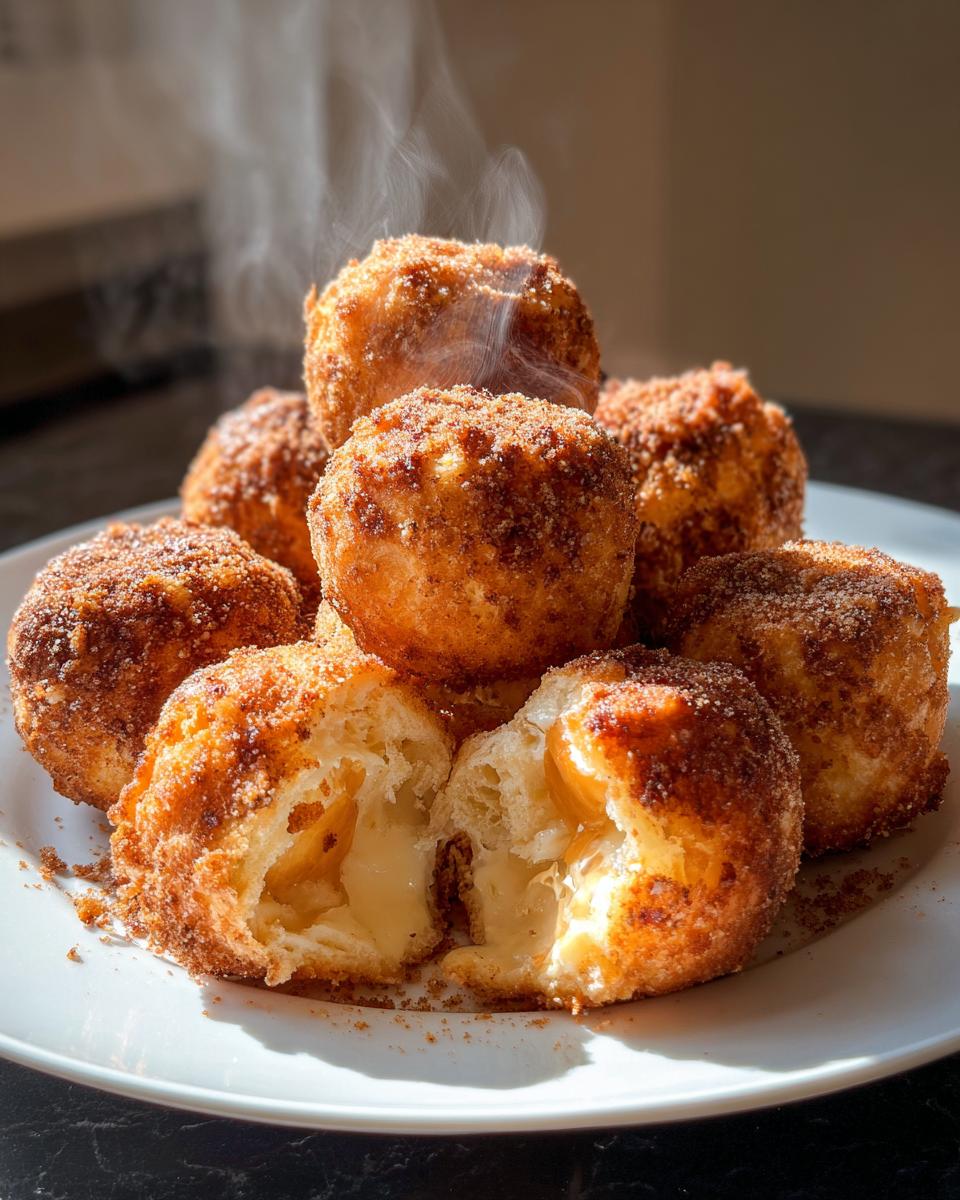
- Bake for 12-15 minutes until they’re puffed up and golden – not dark brown! They’ll continue to firm up as they cool.
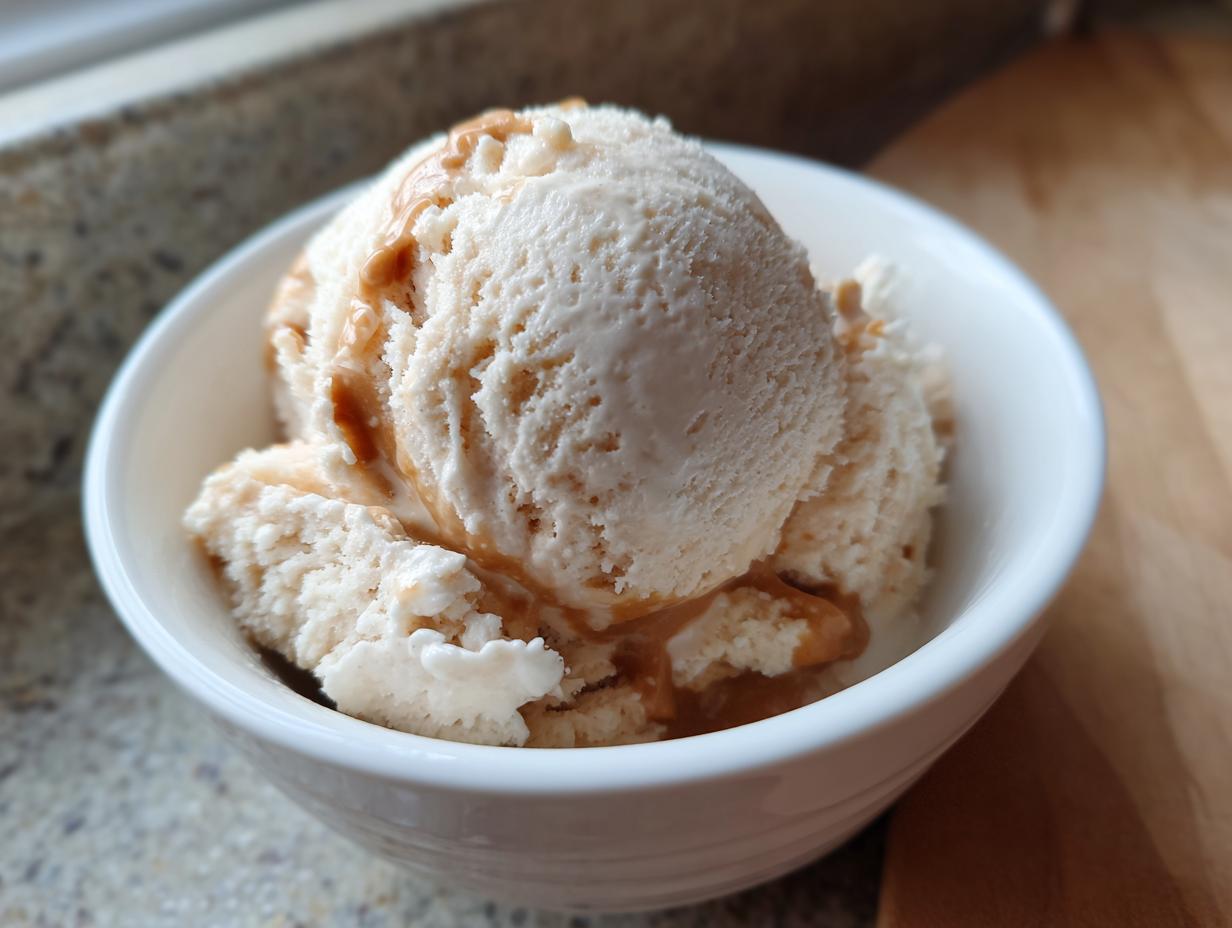
That heavenly smell wafting through your kitchen? That’s your cue to take them out and try not to burn your mouth diving in immediately (I never learn my lesson). Let them cool for about 5 minutes – just enough time to make some coffee or scoop some vanilla ice cream to go with these warm, cinnamony delights!
Pro Tips for Perfect Apple Pie Bombs
After making these dozens of times (okay, maybe hundreds – I have a problem!), I’ve picked up some tricks that make all the difference. Here are my can’t-live-without tips for Apple Pie Bomb success:
- Keep that biscuit dough cold – Straight from fridge to counter works best! Warm dough gets sticky and tears easily when shaping. If your kitchen’s warm, pop the dough back in the fridge for 10 minutes if it starts misbehaving.
- Chop, chop, chop that filling – Big apple chunks = lumpy bombs that won’t seal properly. Take an extra minute to finely dice your filling (canned or homemade) for smooth, even distribution in every bite.
- The pinch-and-roll seal – Don’t just fold the edges over – really pinch them together firmly, then roll gently between your palms. This double security measure prevents any filling explosions in the oven!
- Butter temperature matters – Melt your butter but let it cool slightly before dipping. Too hot and it’ll make your cinnamon sugar clump. Just warm enough to coat evenly is perfect.
One last secret? Don’t overcrowd your baking sheet! Giving each bomb some personal space means they’ll bake evenly and get that gorgeous golden color all around. Now go forth and make the most amazing Apple Pie Bombs of your life!
Apple Pie Bombs Variations
Once you’ve mastered the classic version, it’s time to get creative! Here are my favorite ways to mix up these tasty little treats:
- Pear-adise Bombs: Swap the apple filling for canned or homemade spiced pear filling – adds such an elegant twist! The subtle sweetness pairs beautifully with the cinnamon sugar coating.
- Nutty Professor: Stir 1/4 cup chopped toasted pecans or walnuts into your apple filling. That crunch takes these to another level of deliciousness.
- Caramel Apple Dream: After baking, drizzle with warm caramel sauce and a pinch of sea salt. Pure dessert heaven!
- Berry Bliss: In summer, try blueberry or cherry pie filling instead. The tart fruit contrasts wonderfully with the sweet dough.
The beauty of this recipe? It’s like a blank canvas waiting for your personal touch. My niece once made “confetti bombs” by adding rainbow sprinkles to the cinnamon sugar – messy but magical! What flavor combo will you invent?
Serving and Storing Apple Pie Bombs
Oh friends, let me tell you – these Apple Pie Bombs are absolute magic fresh from the oven when that cinnamon sugar coating is still slightly crisp and the apple filling is oozing warmth. My family has been known to hover around the baking sheet like hungry seagulls waiting for that first batch to cool just enough to handle!
For the ultimate experience, serve them warm with:
- A scoop of vanilla ice cream slowly melting over the top
- A dollop of freshly whipped cream
- A drizzle of caramel sauce or a light dusting of powdered sugar
Now, if by some miracle you have leftovers (it happens!), here’s how to keep them tasting their best:
- Storage: Let them cool completely, then pop them in an airtight container at room temp. They’ll stay delicious for about 2 days.
- Reheating: Always use your oven (350°F for 5-8 minutes) – the microwave turns them soggy and sad. The oven brings back that wonderful crisp texture!
- Freezing: I don’t recommend freezing the baked bombs – the dough gets dense when thawed. Instead, freeze the shaped-but-raw bombs on a tray, then transfer to a bag. Bake straight from frozen, adding a few extra minutes.
Pro tip: These make amazing next-day breakfast treats too – just sayin’! Warm them up with your morning coffee and pretend it’s totally acceptable to eat pie for breakfast (because it absolutely is).
Apple Pie Bombs Nutrition Facts
Okay, let’s talk numbers – but don’t worry, we’re keeping this simple and real! Here’s the nutritional lowdown on these irresistible treats:
- Serving Size: 1 bomb (about 2 inches diameter)
- Calories: 180
- Sugar: 12g
- Sodium: 280mg
- Fat: 8g (3g saturated)
- Carbohydrates: 25g
- Protein: 2g
Now here’s the honest truth – these numbers can vary depending on your filling brand and how generous you are with that cinnamon sugar coating (no judgment here!). The values above are based on using standard canned apple pie filling and average biscuit dough.
A few quick notes:
- Homemade filling? Probably slightly lower in sugar since you control the sweetness
- Using reduced-fat biscuit dough? Might shave off about 20 calories per bomb
- Going heavy on the butter dip? Yeah…we don’t talk about those numbers (worth it!)
Bottom line? These are meant to be enjoyed as an occasional treat – and when you consider that one bomb gives you all that apple pie happiness for under 200 calories, I call that a win! Everything in moderation, right? Now pass me another one…
FAQs About Apple Pie Bombs
You’ve got questions, I’ve got answers! Here are the most common things readers ask me about these irresistible treats:
- Can I freeze Apple Pie Bombs?
Not recommended after baking – the dough gets soggy when thawed. Instead, freeze unbaked bombs on a tray, then transfer to a bag. Bake frozen, adding 2-3 extra minutes. - Can I use puff pastry instead of biscuit dough?
Absolutely! Thaw sheets first and cut into squares. Bake at 400°F for 15-18 minutes until golden. The flakier texture is divine! - Why did my bombs burst open while baking?
Two culprits: overfilling (stick to 1 tbsp!) or not sealing tightly enough. Really pinch those edges – no apple leaks allowed! - Can I make these gluten-free?
Yep! Use gluten-free biscuit dough (check labels) and GF pie filling. Texture may be slightly denser but still delicious. - What’s the best way to reheat leftovers?
Always the oven! 350°F for 5-8 minutes restores the crispness. Microwaving turns them rubbery – not the happy ending we want!

Irresistible Apple Pie Bombs Ready in Just 30 Minutes!
- Total Time: 30 minutes
- Yield: 8 bombs
- Diet: Vegetarian
Description
Delicious bite-sized apple pie treats perfect for any occasion.
Ingredients
- 1 can refrigerated biscuit dough (8 biscuits)
- 1 cup apple pie filling, finely chopped
- 1/4 cup granulated sugar
- 1 tsp ground cinnamon
- 1/4 cup melted butter
Instructions
- Preheat oven to 375°F (190°C).
- Separate biscuit dough into individual biscuits.
- Flatten each biscuit into a 3-inch circle.
- Place 1 tablespoon apple pie filling in center of each biscuit.
- Fold edges over filling and pinch to seal.
- Roll each sealed biscuit into a ball.
- Mix sugar and cinnamon in small bowl.
- Dip each ball in melted butter, then roll in cinnamon sugar.
- Place on baking sheet and bake for 12-15 minutes.
- Serve warm.
Notes
- Use canned or homemade apple pie filling.
- Can substitute with other fruit fillings.
- Best served fresh but can be stored for 2 days.
- Prep Time: 15 minutes
- Cook Time: 15 minutes
- Category: Dessert
- Method: Baking
- Cuisine: American